- You can import bank transactions three ways without linking your bank: a screenshot, a PDF statement, or a CSV export
- CSV is the most private (processed on-device, usually free); screenshots and PDFs use AI to read the file and are the most convenient
- None of these methods require your bank login — you're sharing a file you chose, not standing access to your account
- Always review the extracted transactions before saving: correct misreads, skip duplicates, and deselect anything you don't want
- The point of importing isn't automation for its own sake — it's getting caught up fast so you can get back to a light daily habit
Manual budgeting has one universally hated moment: the beginning. You commit to tracking, then realize you’ve got weeks of past purchases sitting unlogged, and the thought of typing every one of them by hand is enough to make you close the app.
Importing solves exactly that. Instead of re-entering history line by line, you hand the app a file you already have — a screenshot, a statement, or an export — and it pulls the transactions out for you. And importantly, you can do all of this without ever connecting your bank account.
This guide covers the three import methods, how each one actually works, what each costs in privacy and money, and how to pick the right one for your situation.
Quick Answer: What Are the Three Ways to Import Transactions?
There are three practical ways to get a batch of bank transactions into a budget app without a live bank connection:
- Screenshot (PNG/JPG) — You take a picture of your transactions in your banking app, and AI reads the image to extract them. Best for a quick grab of recent activity.
- PDF statement — You upload a bank statement PDF, and AI analyzes the whole document. Best for catching up on entire months at once.
- CSV export — Your bank exports a structured spreadsheet file, which the app maps into transactions. Best for privacy, because it can be processed entirely on your device, and it’s usually free.
All three skip the “connect your bank” screen entirely. You’re not handing over login credentials or granting ongoing access — you’re sharing one file, once. That distinction is the whole reason import matters to people who deliberately chose a budgeting method that doesn’t link their bank.
Why Import Instead of Linking Your Bank?
The obvious question: if the goal is convenience, why not just connect the bank and let transactions sync automatically?
Because auto-sync buys convenience with access. A live bank connection means a third party holds standing read access to your account, refreshing continuously. Importing a file is a one-time, read-only handoff of data you selected. You get most of the time savings without the open-ended connection.
There’s also a control angle. A synced feed pulls in everything — every pending charge, every transfer between your own accounts, every refund — and you clean it up afterward. When you import a file and review it before saving, you decide what makes it into your budget in the first place. That review step is where awareness actually happens, which is the entire point of tracking.
Bulk import is best used to close a gap — the three weeks you didn’t log, or the month before you started. Once you’re current, a light daily logging habit keeps you there. Importing every month forever just recreates the passive, disengaged relationship with money that manual tracking is meant to fix.
Method 1: Importing a Screenshot
The screenshot method is the fastest to start. You open your banking app, screenshot the transaction list, and hand that image to your budget app, where AI reads the picture and pulls out each transaction’s date, amount, and description.
When it’s the right choice:
- You want to grab the last few days or a single screen of activity
- Your bank has no CSV or PDF export (common with e-wallets and some mobile-only banks)
- You’re on your phone and just want something quick
What to keep in mind:
- A screenshot only captures what’s visible, so multiple screens mean multiple imports
- Because AI is reading an image, this method uses processing (in Hunter Vault, that’s Hunter Credits) and the file is uploaded for reading
- Image quality matters — a clear, full-resolution screenshot reads far better than a cropped or compressed one
Screenshots shine for e-wallet users. If your money mostly moves through a mobile wallet that only shows a scrolling transaction feed, a screenshot is often the only export you’ll get. (There’s a dedicated walkthrough for importing GCash, BPI, or BDO transactions if you’re in the Philippines.)
Method 2: Importing a PDF Statement
PDF import is the heavy lifter for catching up. Banks issue monthly statements as PDFs, and a single file can contain an entire month — sometimes several — of transactions. You upload the PDF, AI analyzes the document, and every transaction comes out as an editable draft.
When it’s the right choice:
- You need to catch up on a whole month (or several) at once
- Your bank emails or lets you download statement PDFs
- You want the most complete record in the fewest imports
What to keep in mind:
- PDFs are uploaded for AI analysis, so this uses processing credits — larger files (more pages) generally cost more
- Password-protected statements are common; a good importer lets you enter the password on your device so the password itself is never uploaded, only the unlocked content
- Multi-page statements are where PDF beats everything else — some tools handle up to 30 pages in a single pass
For the full step-by-step on this method, see how to import a bank statement PDF into a budget app.
Many banks lock statement PDFs with a password (often a mix of your name and birth date, or an account number). The safe pattern is that you unlock the file locally, on your device, before anything is sent for reading. The password never travels; only the readable content does. If an app asks you to type a statement password into a web form that transmits it, treat that as a red flag.
Method 3: Importing a CSV Export
CSV is the privacy-first option. A CSV is a plain, structured spreadsheet your bank exports — columns for date, amount, and description. Because it’s already structured data, it doesn’t need AI to “read” an image or document. That means it can be processed entirely on your device, with nothing uploaded, and it’s typically free.
When it’s the right choice:
- Privacy is your top priority — a CSV never has to leave your phone
- Your bank offers a “download transactions as CSV/Excel” option (most online banking portals do)
- You want to import several months without per-file processing costs
What to keep in mind:
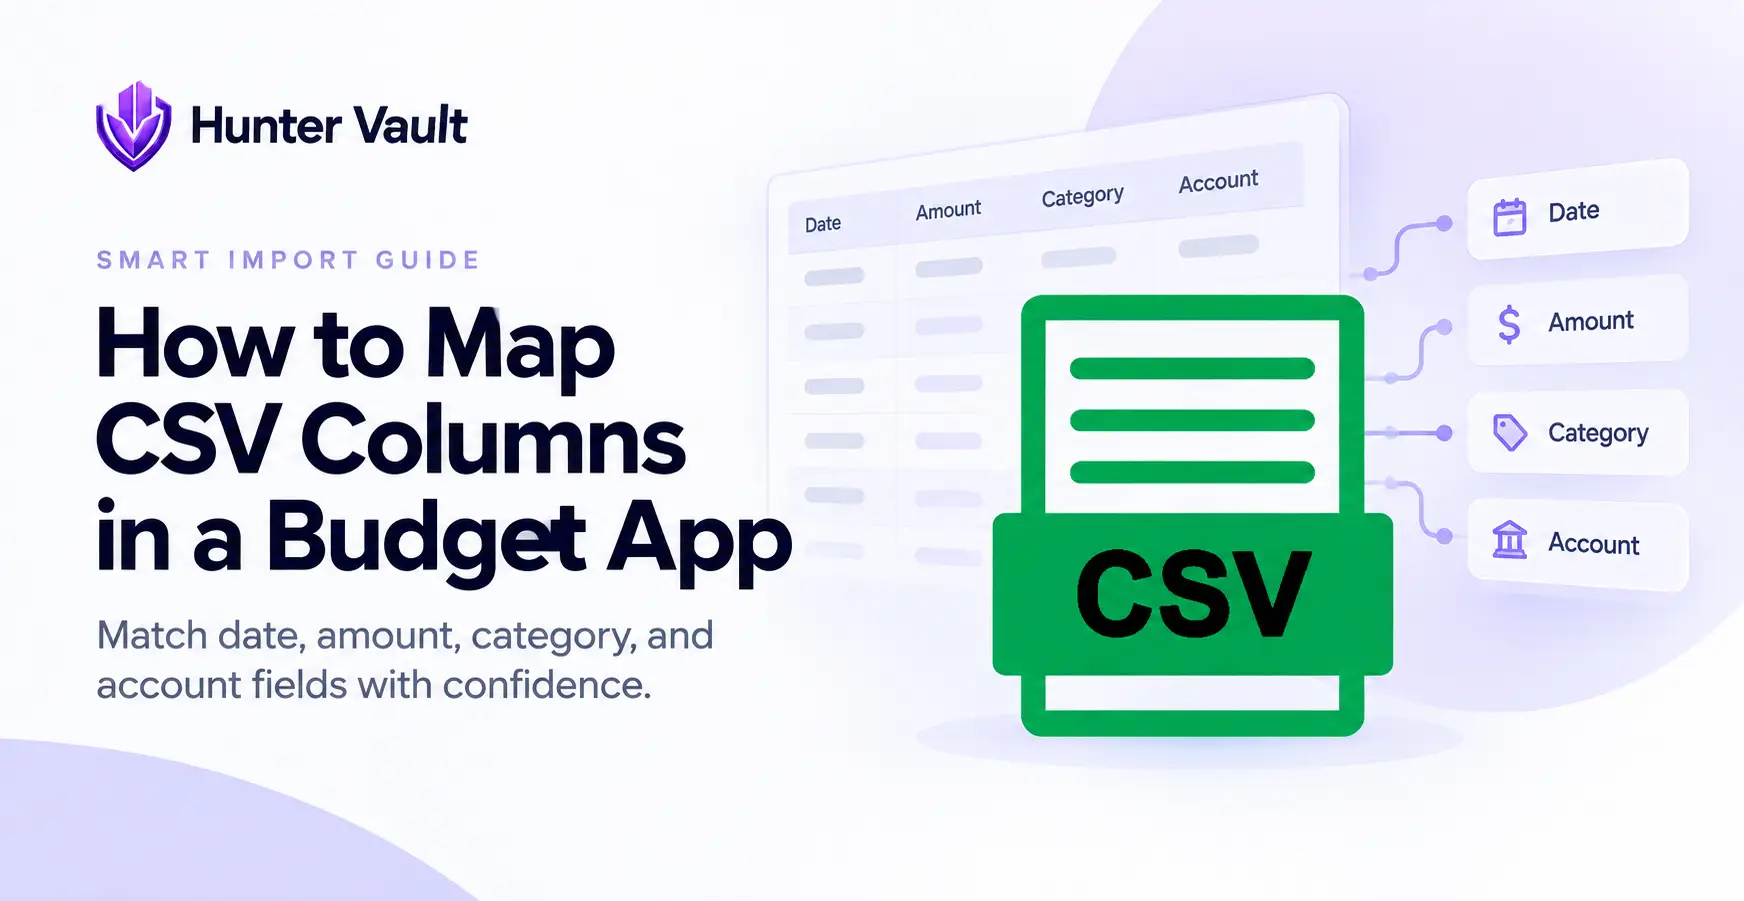
- Every bank labels its columns differently, so you’ll map the bank’s headers (like “Transaction Date” or “Debit Amount”) to the app’s fields once — this is the CSV column mapping step
- CSV export is usually buried in your bank’s web portal rather than the mobile app
- Once mapped, CSV is the cleanest and most repeatable of the three methods
Because CSV stays on-device and costs nothing, it’s the method to reach for first if your bank supports it. The tradeoff is a small amount of setup (the column mapping) and the fact that not every bank — especially mobile-only wallets — offers a CSV export at all.
Screenshot vs. PDF vs. CSV: Which Should You Use?
Here’s the honest comparison across the three methods:
| Screenshot | PDF statement | CSV export | |
|---|---|---|---|
| Best for | Quick recent grabs | Catching up on months | Privacy + repeat use |
| How it’s read | AI reads the image | AI analyzes the document | Processed on-device |
| Uploaded? | Yes, the image | Yes, the file | No, stays on device |
| Typical cost | Uses credits | Uses credits (more for big files) | Usually free |
| Setup needed | None | Password unlock if locked | Column mapping once |
| Volume per import | One screen | Whole month(s) | Whatever you export |
The simple decision rule:
- Has a CSV export? Use CSV. It’s free and stays on your device.
- No CSV, but has statement PDFs? Use PDF to catch up on full months.
- No CSV or PDF (e-wallet, mobile-only)? Use a screenshot for recent activity.
There’s a deeper breakdown in CSV vs PDF vs screenshot: the best way to import bank transactions if you want the full reasoning.
The Import Flow, Step by Step
Whichever method you pick, a well-designed importer follows the same shape. Here’s what the flow looks like in Hunter Vault’s Smart Import:
Choose which account the transactions belong to, so they land in the right place in your budget.
Screenshot, PDF, or CSV. This is where you decide based on what your bank gives you and how private you want the process to be.
A good importer tells you, in plain language, exactly what gets uploaded and what stays on your device — before you commit. Read it once so you know what you’re agreeing to.
For screenshots and PDFs, you should see the estimated processing cost before anything happens. For locked PDFs, enter the password on-device here.
The app reads the file and pulls out transactions. This is the only step you don’t control — you just wait for the extraction to finish.
Every transaction appears as an editable draft. Fix any misreads, categorize, skip flagged duplicates, deselect anything you don’t want, and confirm. Nothing saves until you do.
That last step is the one that matters most, so it gets its own section.
Always Review Before You Save
Importing is not the same as trusting. AI reading a screenshot or PDF is good, not perfect — a smudged number, an unusual date format, or an odd merchant name can produce a misread. And any bulk import can surface duplicates of transactions you already have.
That’s why the review screen exists, and why you should never skip it. A solid importer lets you:
- See every transaction as an editable draft before it’s saved
- Filter by status — all, ready, needs-review, and duplicates — so you can focus on what needs attention
- Correct amounts, dates, and descriptions inline
- Deselect anything you don’t want to keep
- Skip flagged duplicates with one tap
The full walkthrough lives in how to review and clean up imported transactions, but the principle is simple: the thirty seconds you spend reviewing is what keeps your budget accurate. Treat it as part of the import, not an optional extra.
If an app imports transactions straight into your history with no review step, that’s a problem, not a feature. Misreads and duplicates compound quietly, and a budget you can’t trust is a budget you’ll stop using. Insist on reviewing before saving.
What to Do After You Import
Getting the transactions in is the start, not the finish. Once they’re imported, a few minutes of cleanup turns a raw dump into something useful:
- Categorize anything that came in uncategorized so your spending breakdown is accurate
- Spot the surprises — a bulk import often reveals a subscription or a spending pattern you’d forgotten
- Ask questions of the data — if your app has an assistant like Huntee, this is the moment to ask “what were my biggest expenses last month?” and get an instant read
There’s a dedicated guide on what to do after you import bank transactions that covers the cleanup in detail. The short version: import to get current, review to stay accurate, then get back to the light daily habit that keeps you there.
Getting Caught Up Without Linking Your Bank
Import exists for one honest reason: the blank-slate problem. Starting a budget when you’ve got a backlog of untracked spending is where most people quit, and typing it all in by hand is a genuine chore.
The three methods — screenshot, PDF, and CSV — each solve that in a different way, and none of them ask for your bank login. You bring a file you already have, review what comes out, and you’re current. If your bank offers CSV, start there for the privacy and the zero cost. If not, PDF handles whole months and screenshots handle the quick stuff.
If you’re staring down months of untracked spending right now, the next read is how to catch up on months of missed budget transactions — it walks through the whole catch-up in one sitting.
This is general educational content, not financial advice. Import methods and their privacy tradeoffs vary by app — always check what a tool uploads and how it handles your data before using it. If you’re dealing with serious debt or financial hardship, consider speaking with a qualified financial professional.
Frequently Asked Questions
Can you import bank transactions without linking your bank account?
Yes. Instead of connecting your bank through a live data feed, you import a file you already have — a screenshot of your banking app, a PDF statement, or a CSV export. The app reads the transactions from that file. No bank login or credentials are involved because there’s no ongoing connection, just a single file you chose to share.
What’s the difference between importing a screenshot, PDF, and CSV?
A screenshot (PNG/JPG) is an image of your transactions that AI reads visually. A PDF statement is a multi-page document AI analyzes, useful for whole months at once. A CSV is a structured spreadsheet export your bank provides, which can be processed entirely on your device. CSV is the most private and usually free; screenshots and PDFs are the most convenient when a CSV export isn’t available.
Is it safe to upload a bank statement to a budgeting app?
It depends on the app and the method. A CSV processed on-device never leaves your phone. A screenshot or PDF is uploaded for AI reading, so you’re sharing that one file — but not your bank login or standing account access. Look for an app that shows a clear privacy notice, tells you what’s uploaded, and lets you review everything before it saves.
Will importing create duplicate transactions?
Good import tools detect duplicates by matching date, amount, and description against transactions you already have, then flag them so you can skip them. Always review the extracted list before confirming — a review step is where you catch duplicates, misreads, and anything you don’t want to keep.
How many transactions can I import at once?
This varies by app and method. Screenshots capture whatever fits on screen. PDF statements often cover an entire month or more — some tools handle up to 30 pages in one import. CSV files are limited only by what your bank lets you export, often several months at a time.
Do I have to review imported transactions before they’re saved?
You should, and a well-designed importer requires it. Every extracted transaction should appear as an editable draft you can correct, categorize, or deselect before anything is added to your history. Importing is not the same as blindly trusting — the review step is what keeps your data clean.